
When I first started on AIP almost 5 years ago, the biggest challenge for me was not being able to eat rice. Rice and curry had been my comfort food for 40 plus years and not being able to eat that was hard. I was never a big fan of wheat rotis or chapatis. But I loved my rice. And cauliflower rice was not comparable. I needed something to sop up the curries – as a vehicle to enjoy the curries. And so it was a relief when I first heard about cassava flour and how we could make tortillas from it! I was so excited to give it a try. Although the first few attempts did not go that well, pretty soon I was able to create decent rotis from it. All those years making whole wheat chapatis for my family finally paid off I guess! The making of the dough is more of science than an art and adding just the right amount of water and kneading the dough for just the right amount of time are things that you perfect with practice over time. And I had a lot of practice. Trust me!
Now that I have been making cassava rotis for so long, I hardly think of them as a recipe. My book AIP INDIAN FUSION also has a lot of flatbread recipes in it in addition to cassava rotis. However some of my clients tell me that they are still challenged to get the dough right despite using my recipe. That’s the reason I decided to put together this post along with a detailed video (see below) so that you can also perfect this science!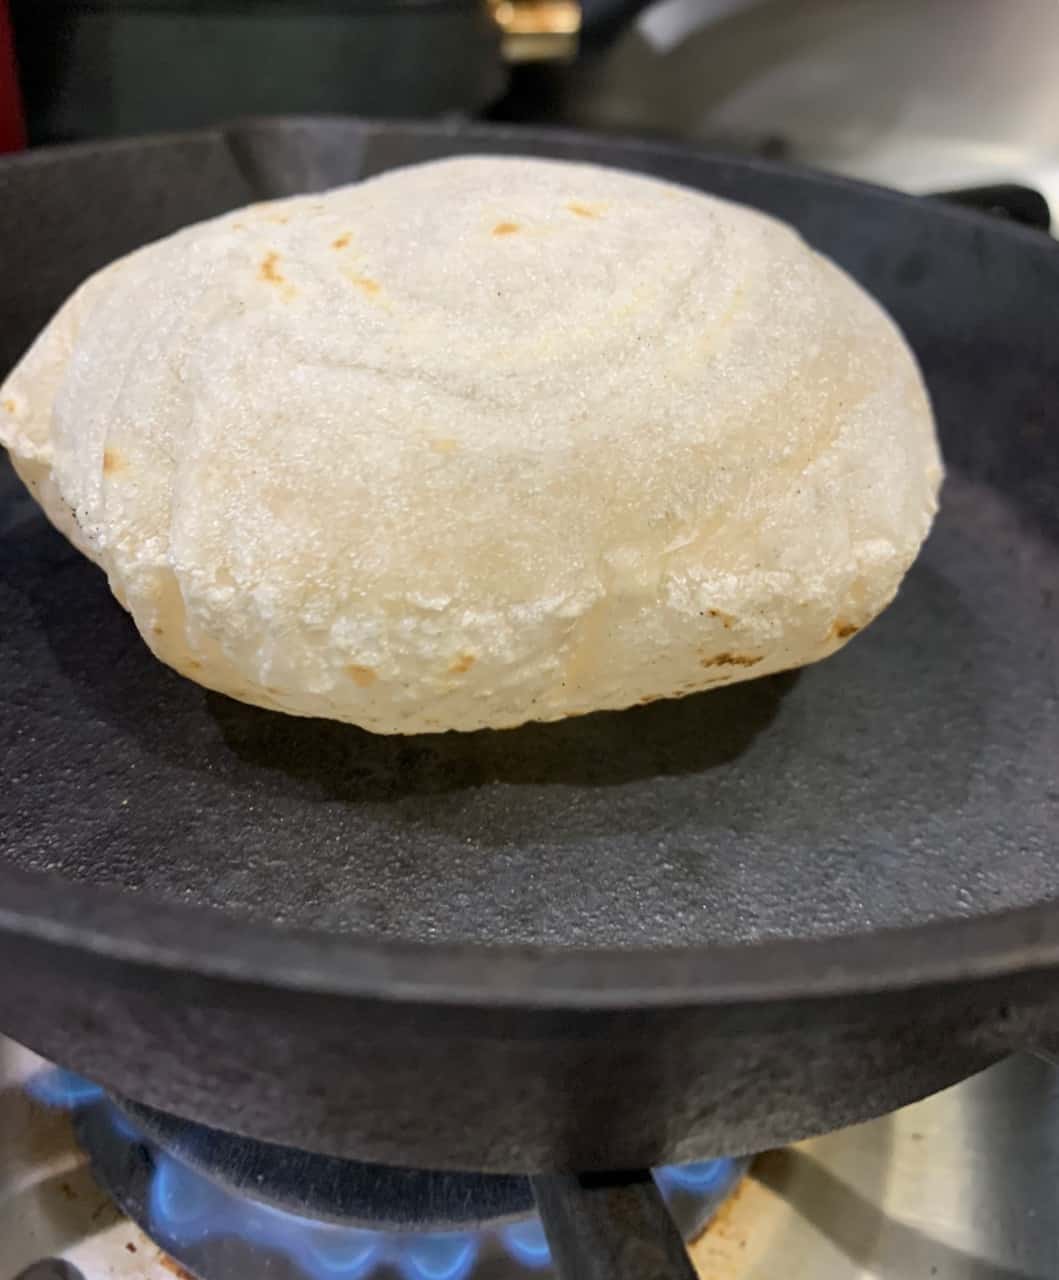
Important Tips:
- First things first – What Flour brand you use is very important – All brands are not the same. And even within the same brand, the consistency of the flour can change from batch to batch which makes it hard to specify the amount of water exactly in the recipe. The two brands I trust and like are ‘Otto’s’ and Anthony’s Goods Premium (Not Anthony’s Goods Organic as that has a very different texture and taste)
- Temperature of water – The dough has to be kneaded using hot water (water that has been boiling)
- Amount of water – It is hard to respecify amount of water because of the nature of the cassava flour. So it’s important to focus on the wetness of the dough. The goal is to get all the flour completely wet.
- Avoid lumps in the dough – You have to work extremely fast adding the water slowly in parts but mixing the flour very fast.
- Get a good rolling pin and rolling board
Cast Iron pan is best for cooking the tortilla/roti.
What are the ingredients?
- Cassava Flour
- Tigernut flour (optional) – Adding this gives the tortilla a better texture and taste.
- Sea salt
- Extra Virgin Olive Oil or Avocado Oil
- Water
Storing the tortillas/rotis
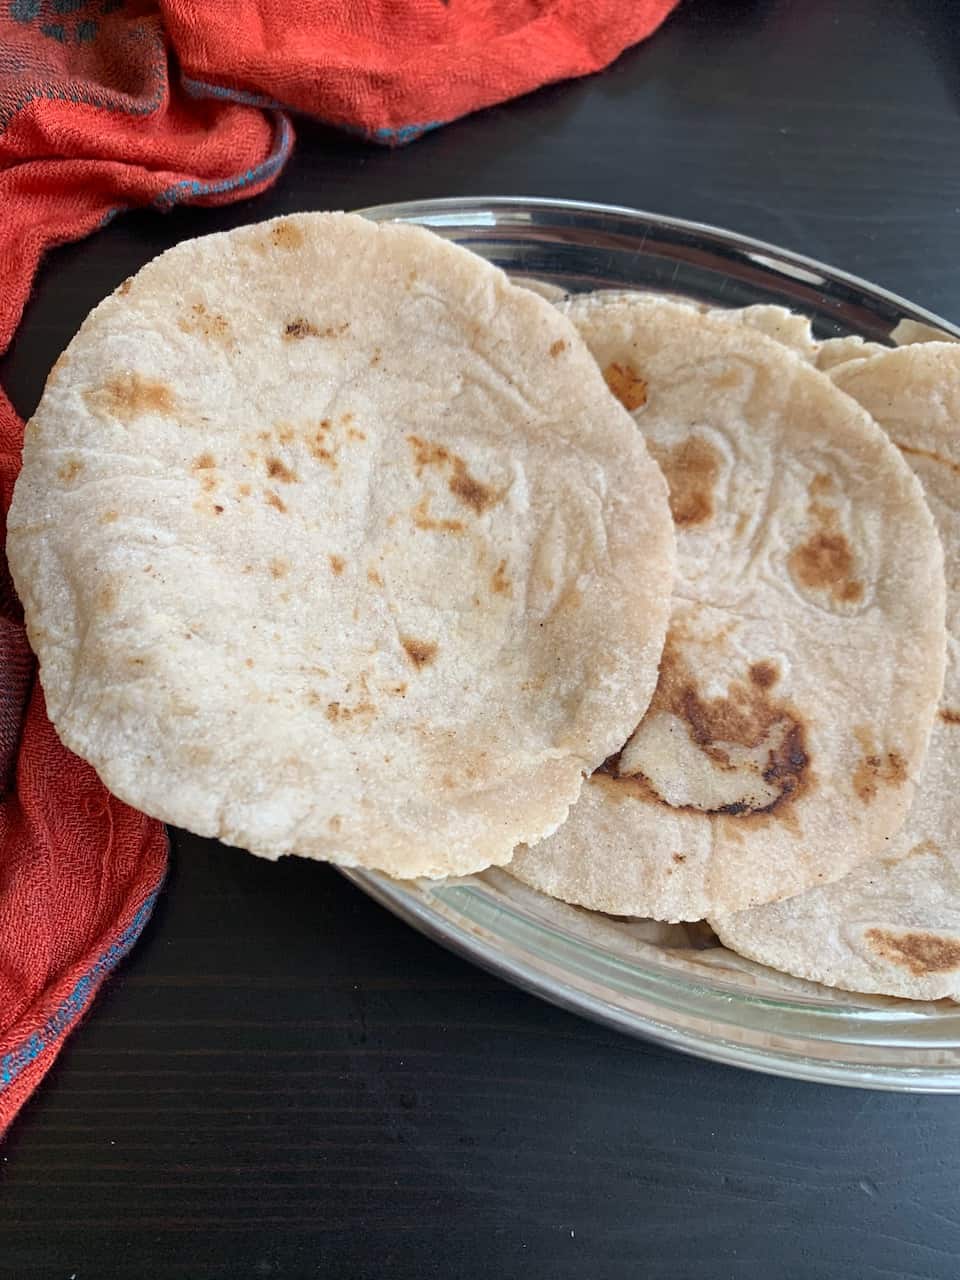
Spread the cooked tortillas on a plate or a tray and let them cool for a few minutes before stacking them up on top of each other.
Store leftover tortillas in the refrigerator wrapped in foil for 3-4 days. Or you can freeze them too.
Storing leftover dough
If you have leftover dough, then you can refrigerate it for 3-4 days but you will need to thaw to room temperature and possibly rehydrate with some hot water to form a pliable dough again.
Alright let’s get to the recipe! Do watch my video for a complete tutorial! SEE LINKED BELOW!
- 1 cup cassava flour (Otto's or Anthony's Goods Premium)
- 1 tbsp tiger nut flour (optional)
- ¼ tsp sea salt
- 1 tbsp extra virgin olive oil
- About 1 to 1½ cups hot water (water that has been boiling)
- Additional ½ tbsp oil
- Place water in a kettle to boil.
- Meanwhile in a large mixing bowl, add the cassava flour, tiger nut flour (if adding) and salt. Mix using a fork and drizzle the oil over the mixture.
- Once the water starts boiling, turn the heat off and carefully pour the hot water into a ½ cup measuring cup.
- Add the water from the measuring cup slowly into the bowl using one hand while stirring the mixture using your other hand. Repeat this process until you get all the flour wet. (Make sure to add the water slowly). You will need about 1¼ cups of hot water (but this is approximate as you may need less or more depending upon the texture of the flour used)
- Once all the flour is wet, cover the bowl with a lid and let the mixture cool for about 3-4 minutes.
- Then when the dough is still warm to touch, add the rest of the oil and knead the dough to get a soft pliable dough. The dough should be very soft to touch and not hard.
- Divide the dough into 10 equal balls.
- Roll each ball one by one using a rolling pin to form a circle about 3.5 inches dia.
- Place a cast iron pan on medium heat for about 5 minutes until it is hot.
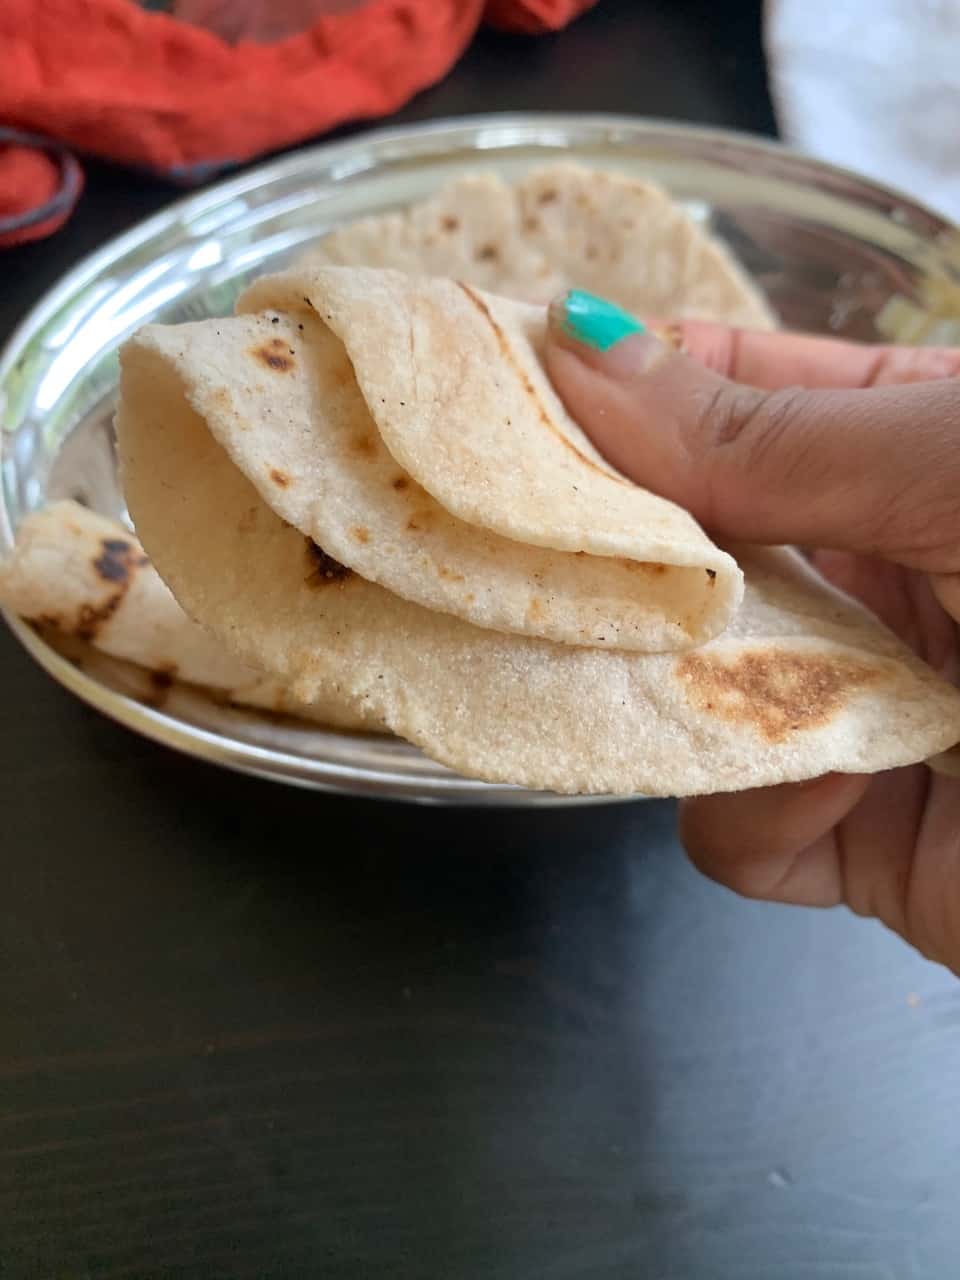
- Cook each tortilla or roti on the pan on medium heat for about 1 minute on each side until the roti puffs up nicely on both sides. Again flip and cook on the first side for 1 more minute till the tortilla has some brown spots.
- Spread the cooked tortillas on a plate individually or a tray and let them cool for a few minutes before stacking them up on top of each other. (If you stack them up while hot, they will stick together and also become gummy)
- Store leftover tortillas in the refrigerator wrapped in foil for 3-4 days. Or you can freeze them too.
- If you have leftover dough, then you can refrigerate it for 3-4 days but you will need to thaw to room temperature and possibly rehydrate with some hot water to form a pliable dough again.
Also check out my other chapati recipe using cassava flour and water chestnut flour.
For those who are gluten free and not grain free, you can try my gluten free roti/tortilla recipe!


")

")
")

")
")
")
thank you for this wonderful recipe – I made up half the amount and they turned out great! Not chewy or sticky at all. I just made a wrap with shredded chicken, avo and spinach leaves and it rolled and held up well. I’ll definitely make them again 🙂
So happy to hear! Thanks for sharing and rating the recipe! Your chicken wrap sounds delicious!
My son has autoimmune issues and following a lectin free diet. Thank you so much for the recipe. The entire family wants them now too! They were perfect. (I used almond flour as I did not have Tigernut, and it was great)
sooo good! had these with grilled veggies etc and my vegan gf child and i absolutely loved them! i added maybe 4-5 tbsp of coconut milk in place of the last little bit of water; they were soft and yummy.
That’s so good to hear! Thanks so much.!
I tried making tortillas for the first time, not good at all. My recipe did not call for boiling water and that may be the issue. THANK YOU for the detailed steps and the video! I will try again tomorrow with your recipe and techniques.
Hi @Cook 2 Nourish! Thank you so much for this video! It’s amazing! It love to use the tiger nut to enhance the roti. Does the brand of the tiger nut flour matter or I can use any trusted good brand? I live in the Uk and Anthony products are hard to come by. Thank you! ❤
You can use any trusted brand as we need only a very small quantity of it! Good Luck! And thank you for your feedback!
Amazing thank you! 🥰
So excited can wait to try these! Gonna give it a whirl tomorrow!
Great! Hope it turns out good for you!
Hi Indira
Your recipe and video literally saved life! Thank you for being truthful. You are a godsend. I cannot wait to buy your cookbook! Can you just tell me how you know when the bread is cooked? You cook it for one minute on each side but for how long? 3 minutes or 4 minutes?
You need to cook for about 2 to 3 minutes total until you see golden brown spots on both sides. Hope that helps!
I thought the instructions were perfectly clear and very good, and the best video I’ve seen to make them. The only issue I am finding is not knowing what the internal consistency should look like. I made the tortilla with the same make ingredients as shown in the video. The outside looks correct but the inside was a bit sticky, darker, and glue like as if partially undercooked. It’s a shame there is not a tear test and close up to highlight the internal consistency after cooking. If I cook them for longer (5+ minutes), the internal consistency still doesn’t change enough and they just stiffen up and lose their softness. The only difference is that I’m using a non stick pan than cast iron. Should they look as if they are consistent color (same as outside) all the way through when torn open?
I think it’s the non stick pan causing the inside to not cook well. Inside is soft but not gummy.
I use all your recommended ingredients. I follow your recipe. I use cast iron pan. Sometimes my roti puff up, and are great. Sometimes they do not, and are not so awesome. What is happening?
Are you changing the cassava flour brand by any chance? Is the pan really hot when you cook the rotis?
I noticed you did not use oil in the pan. I don’t use nonstick and my cast iron makes things stick. Can I use stainless steel pan with oil?
I would not recommend stainless steel pan for cooking these rotis as they will most likely stick. What you can do is brush your cast iron with a little bit of oil and add the roti only when the pan is really hot. That should prevent the sticking.
Hi Indira,
I bought casava flour today for the first time and made 5 roti. When I had them in dinner I felt like I was having dust with the roti. I first thought put the roti aside but did not wish to waste so somehow managed to eat 3. Would you know why it feels like having dust with the casava flour roti? I mean is it how it should be? I bought the 1kg flour pack from a standard supermarket and have seen the same pack in other stores as well.
Any tips or idea appreciated.
What brand of cassava flour did you use? As I mention in my video above, I only recommend Otto’s brand or Anthony’s Goods Premium (not organic). Because there is lot of variation in quality among different cassava flour brands.
Will it still puff up without the tiger nut flour?
yes it will. Without tigernut flour it will be just a bit softer.
[…] How to Make the Perfect Cassava Tortilla from Cook 2 Nourish *Indira shares detailed tips and a video, so that your next tortillas will come out perfectly! […]
I made the tortilla, but the inside doesn’t look done. They puffed up, not like yours. I did not like the texture on the inside. What went wrong. I followed the recipe. I have to go on a grain free diet. I really want this to work.
Did you watch my video too? That can help to see the steps and to see the texture of my dough. Did you use the brands that I recommend? The brand of cassava flour can have a huge impact on the texture.