Disclaimer: This post may contain one or many product affiliate links. An affiliate link means that when you click on that product link and purchase the product, I get a small commission but your cost remains the same.
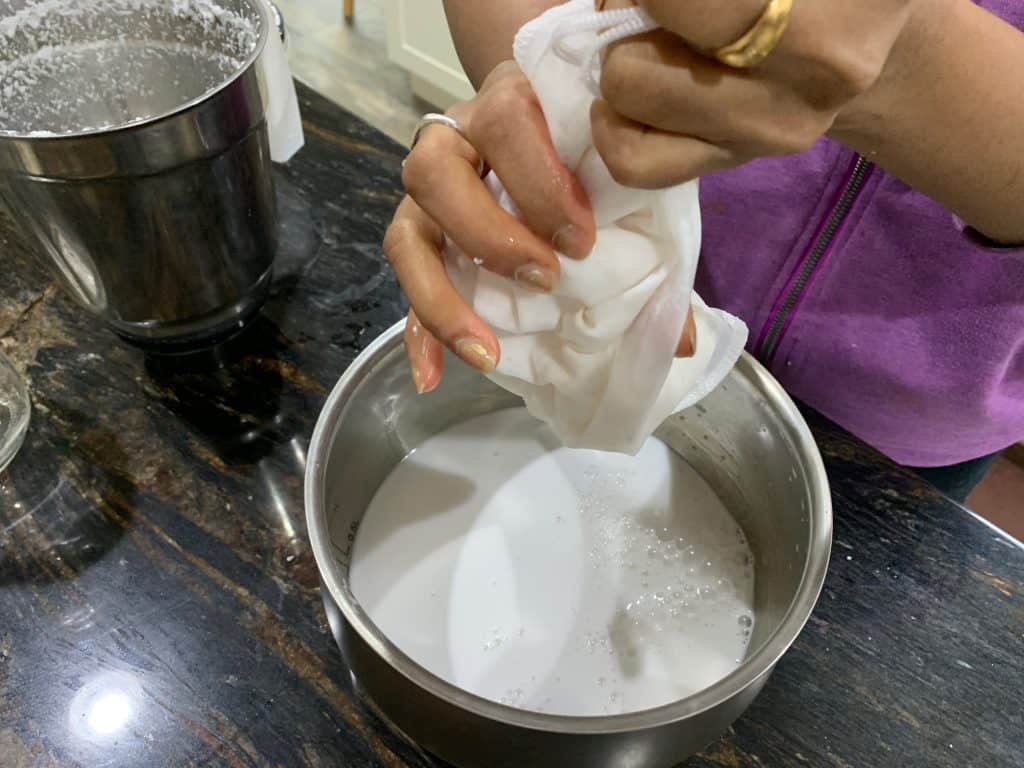
I love everything coconut! But even though I love coconut, I am extremely picky about the coconut or coconut product – it has to be absolutely fresh smelling. And unfortunately not a lot of products pass my ‘smell test’. Even most organic Coconut milk brands have a slightly rancid smell that fresh homemade coconut milk does not have. For making coconut milk, using fresh coconut is the best. However, since in the US we don’t see fresh coconuts regularly in the grocers, I find ‘fresh frozen coconut’ – either grated or sliced as the next best alternative. And that is what I use for all my traditional southern Indian recipes (Kerala ) recipes. You could also use dried shredded coconut for making coconut milk however you will need to blend it with hot water and for a longer period of time. I blend the frozen coconut (after thawing) and strain through a strainer or a nut milk bag to get fresh coconut milk.
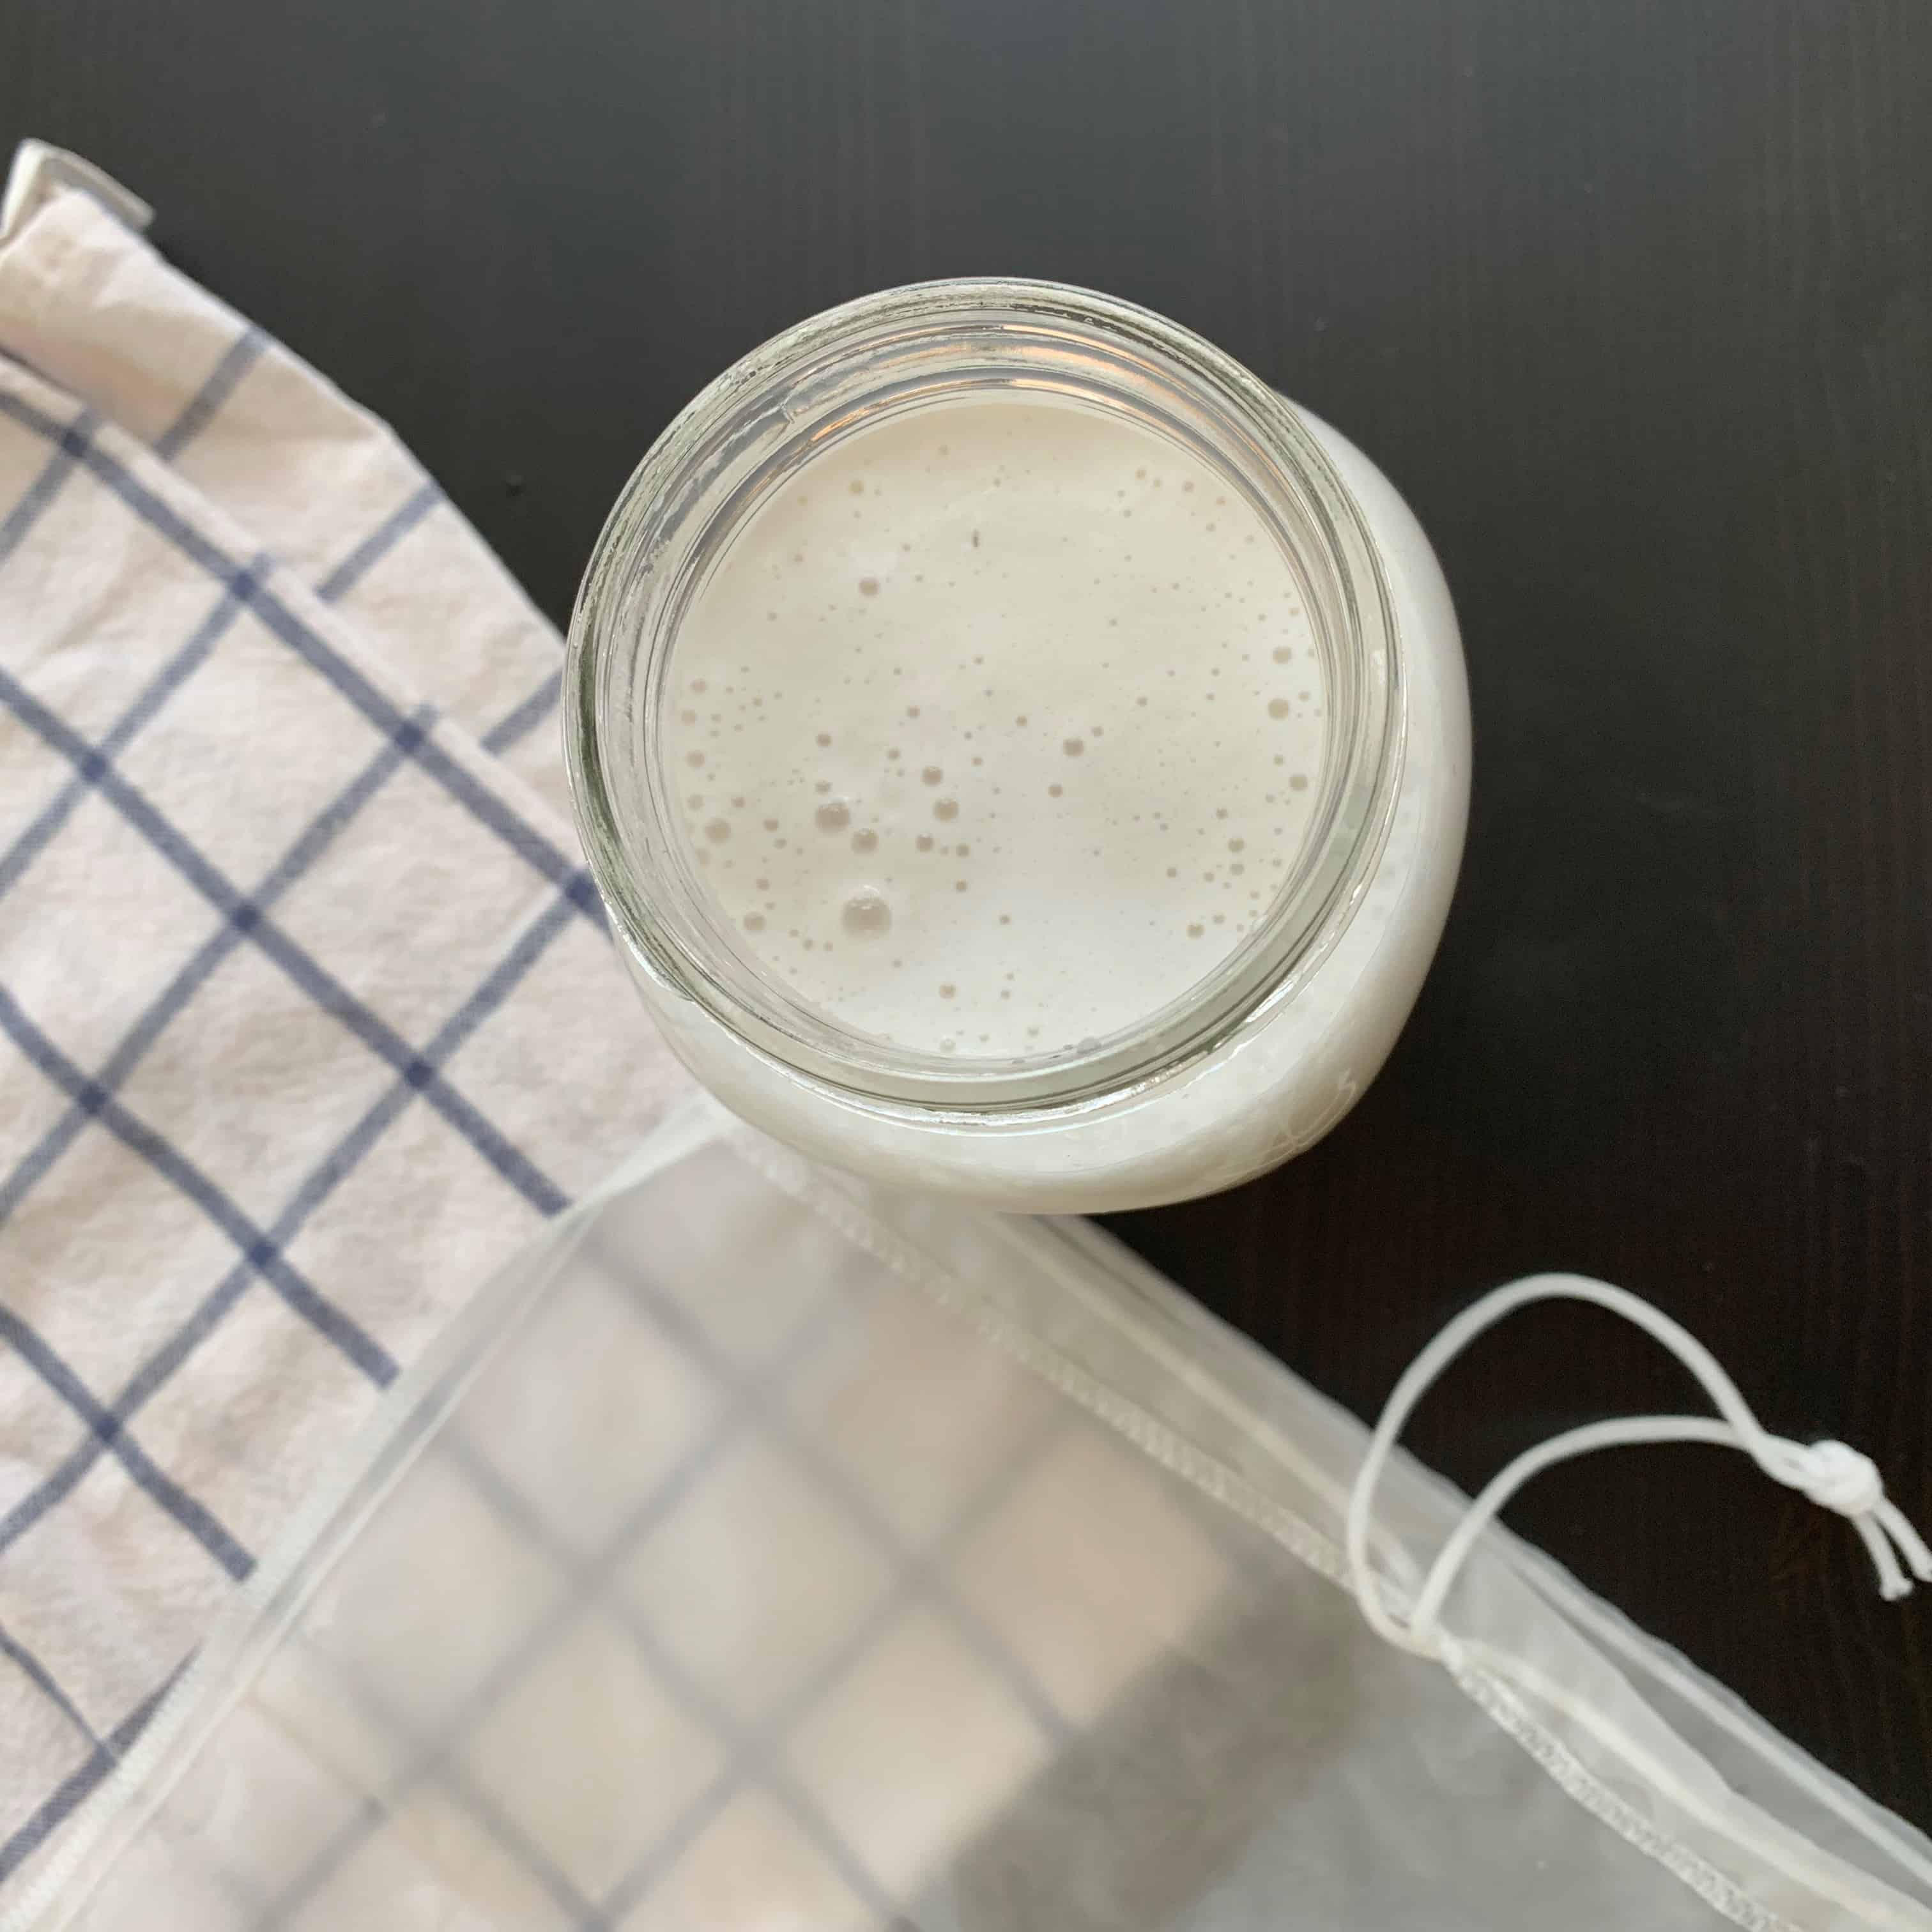 Nowadays, having been avoiding dairy completely, I use coconut milk even for other things like making myself a hot beverage like matcha coconut latte or chicory coconut latte and also for making my smoothies and ice creams! (Check out my instagram page for all these recipes). Since I need to have coconut milk handy for such purposes, I make a small batch of fresh coconut milk every week and store it in the fridge.
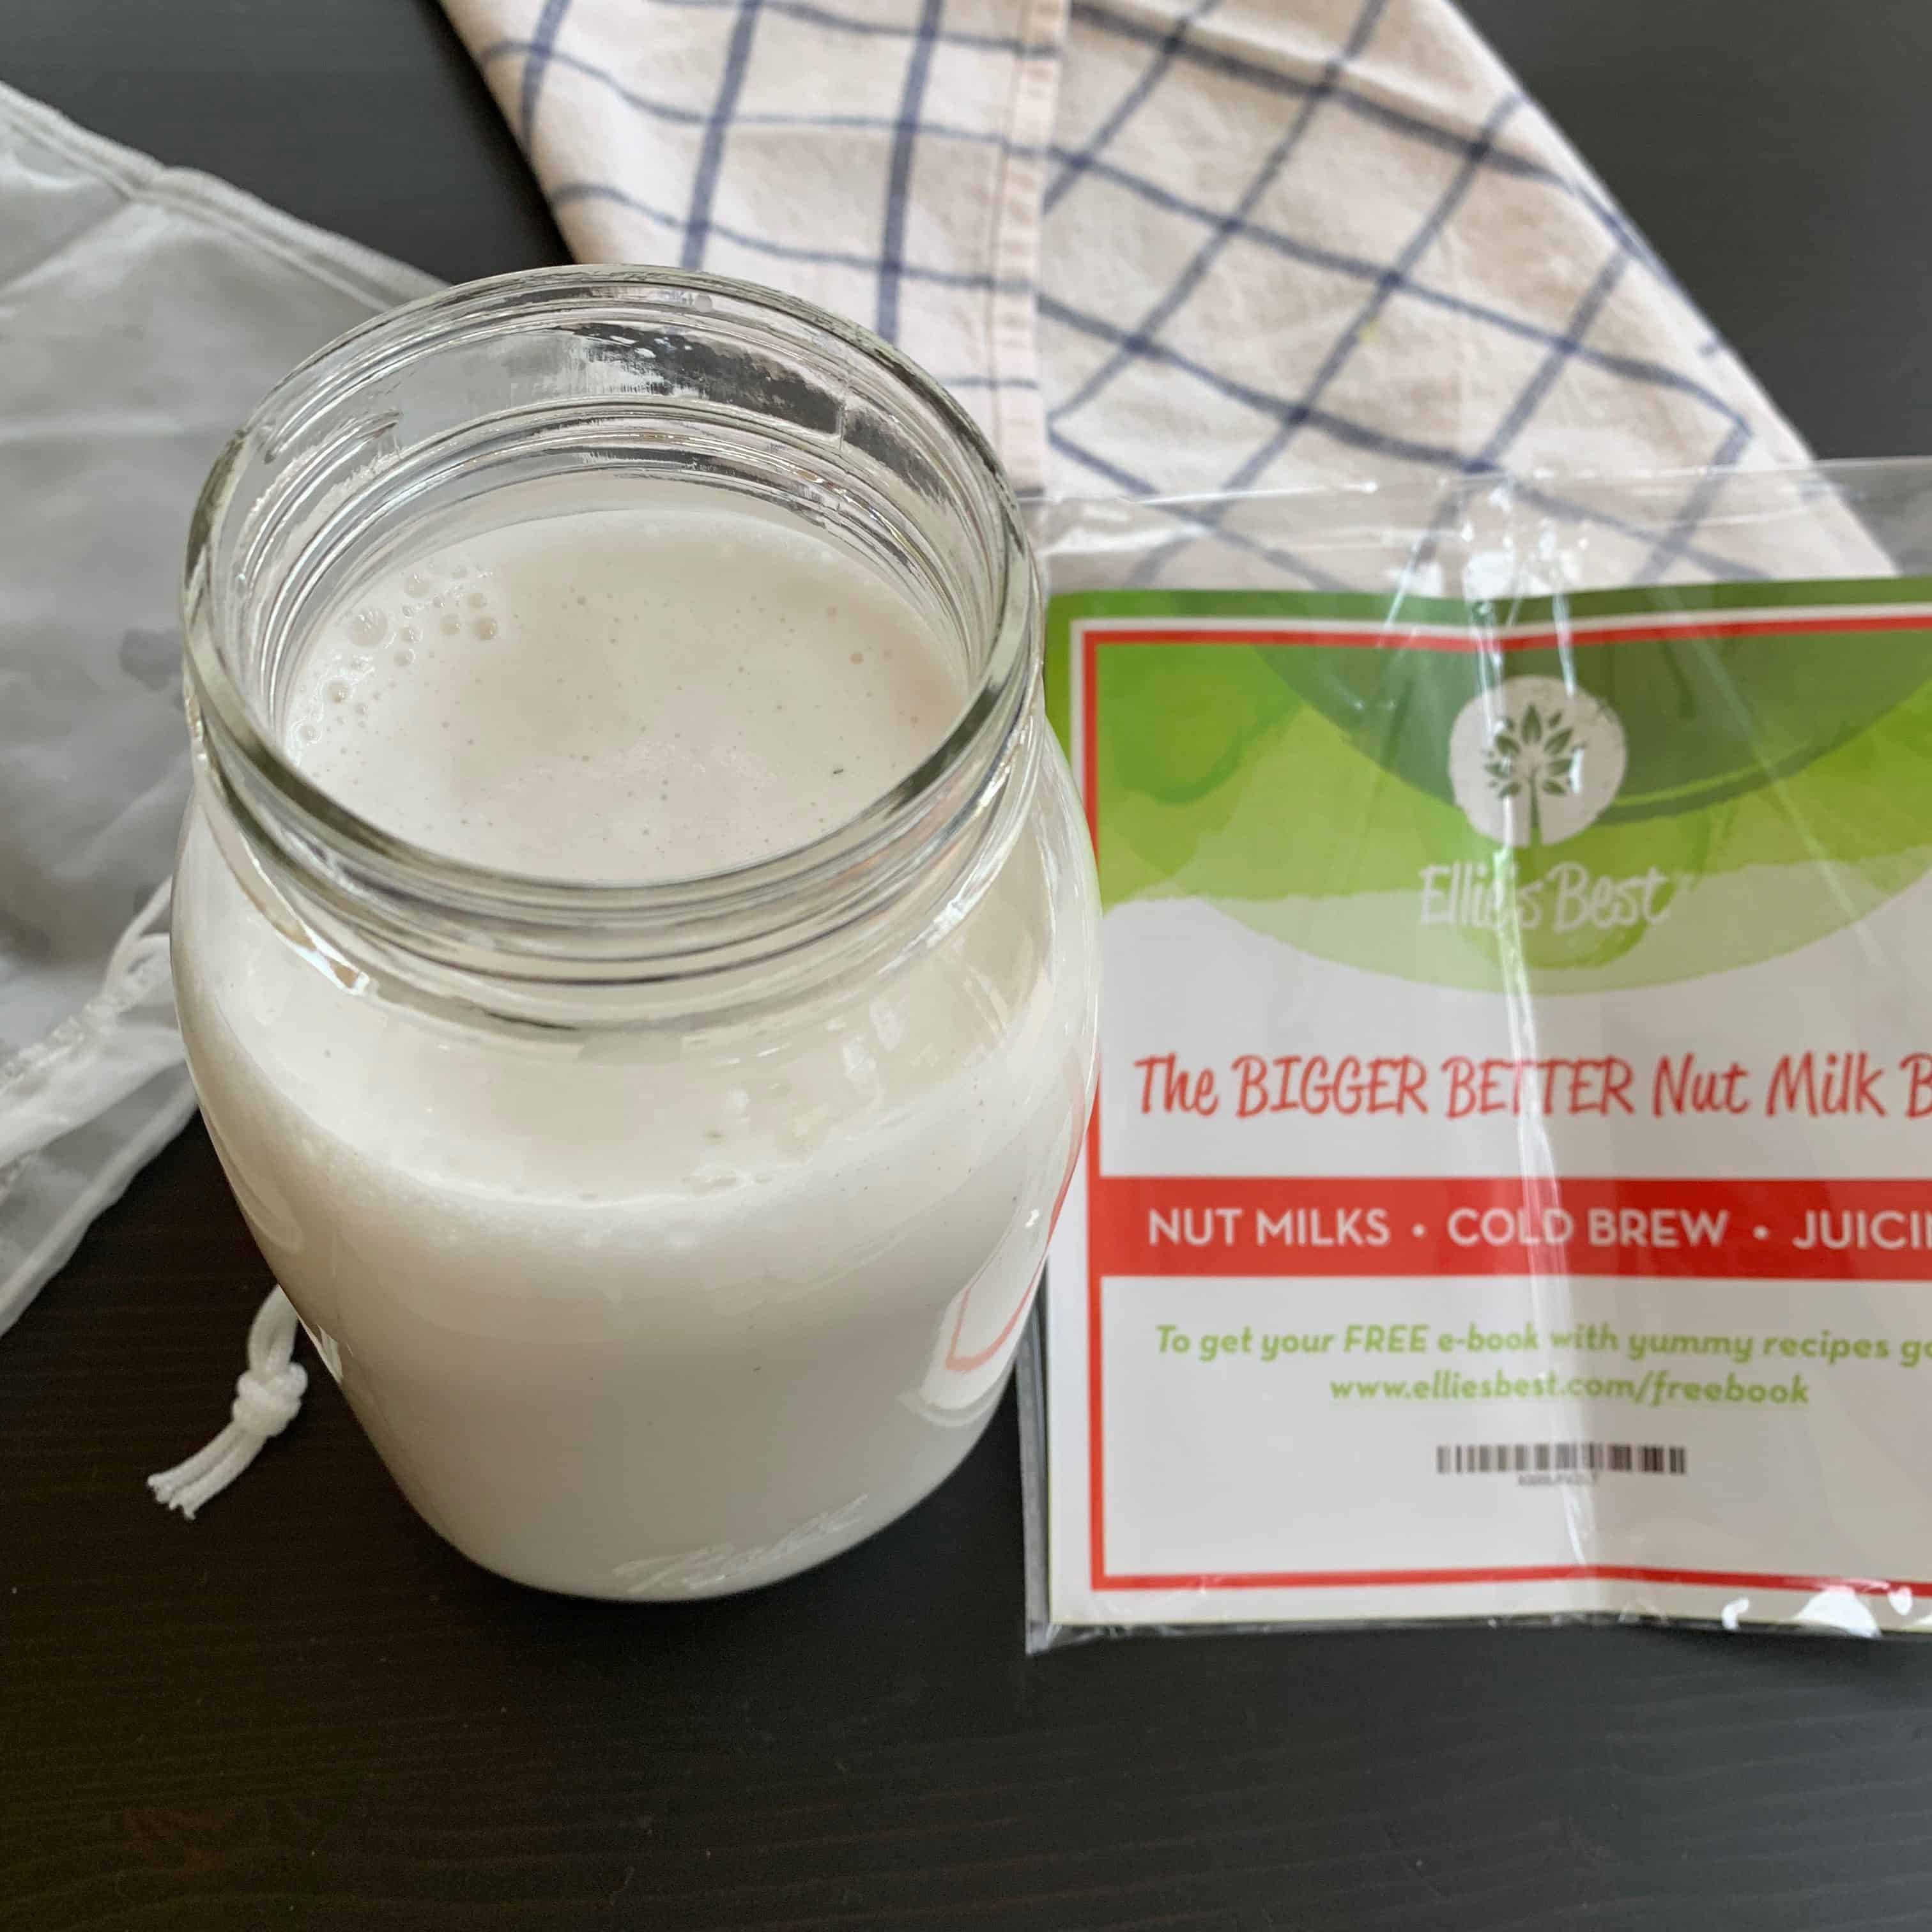
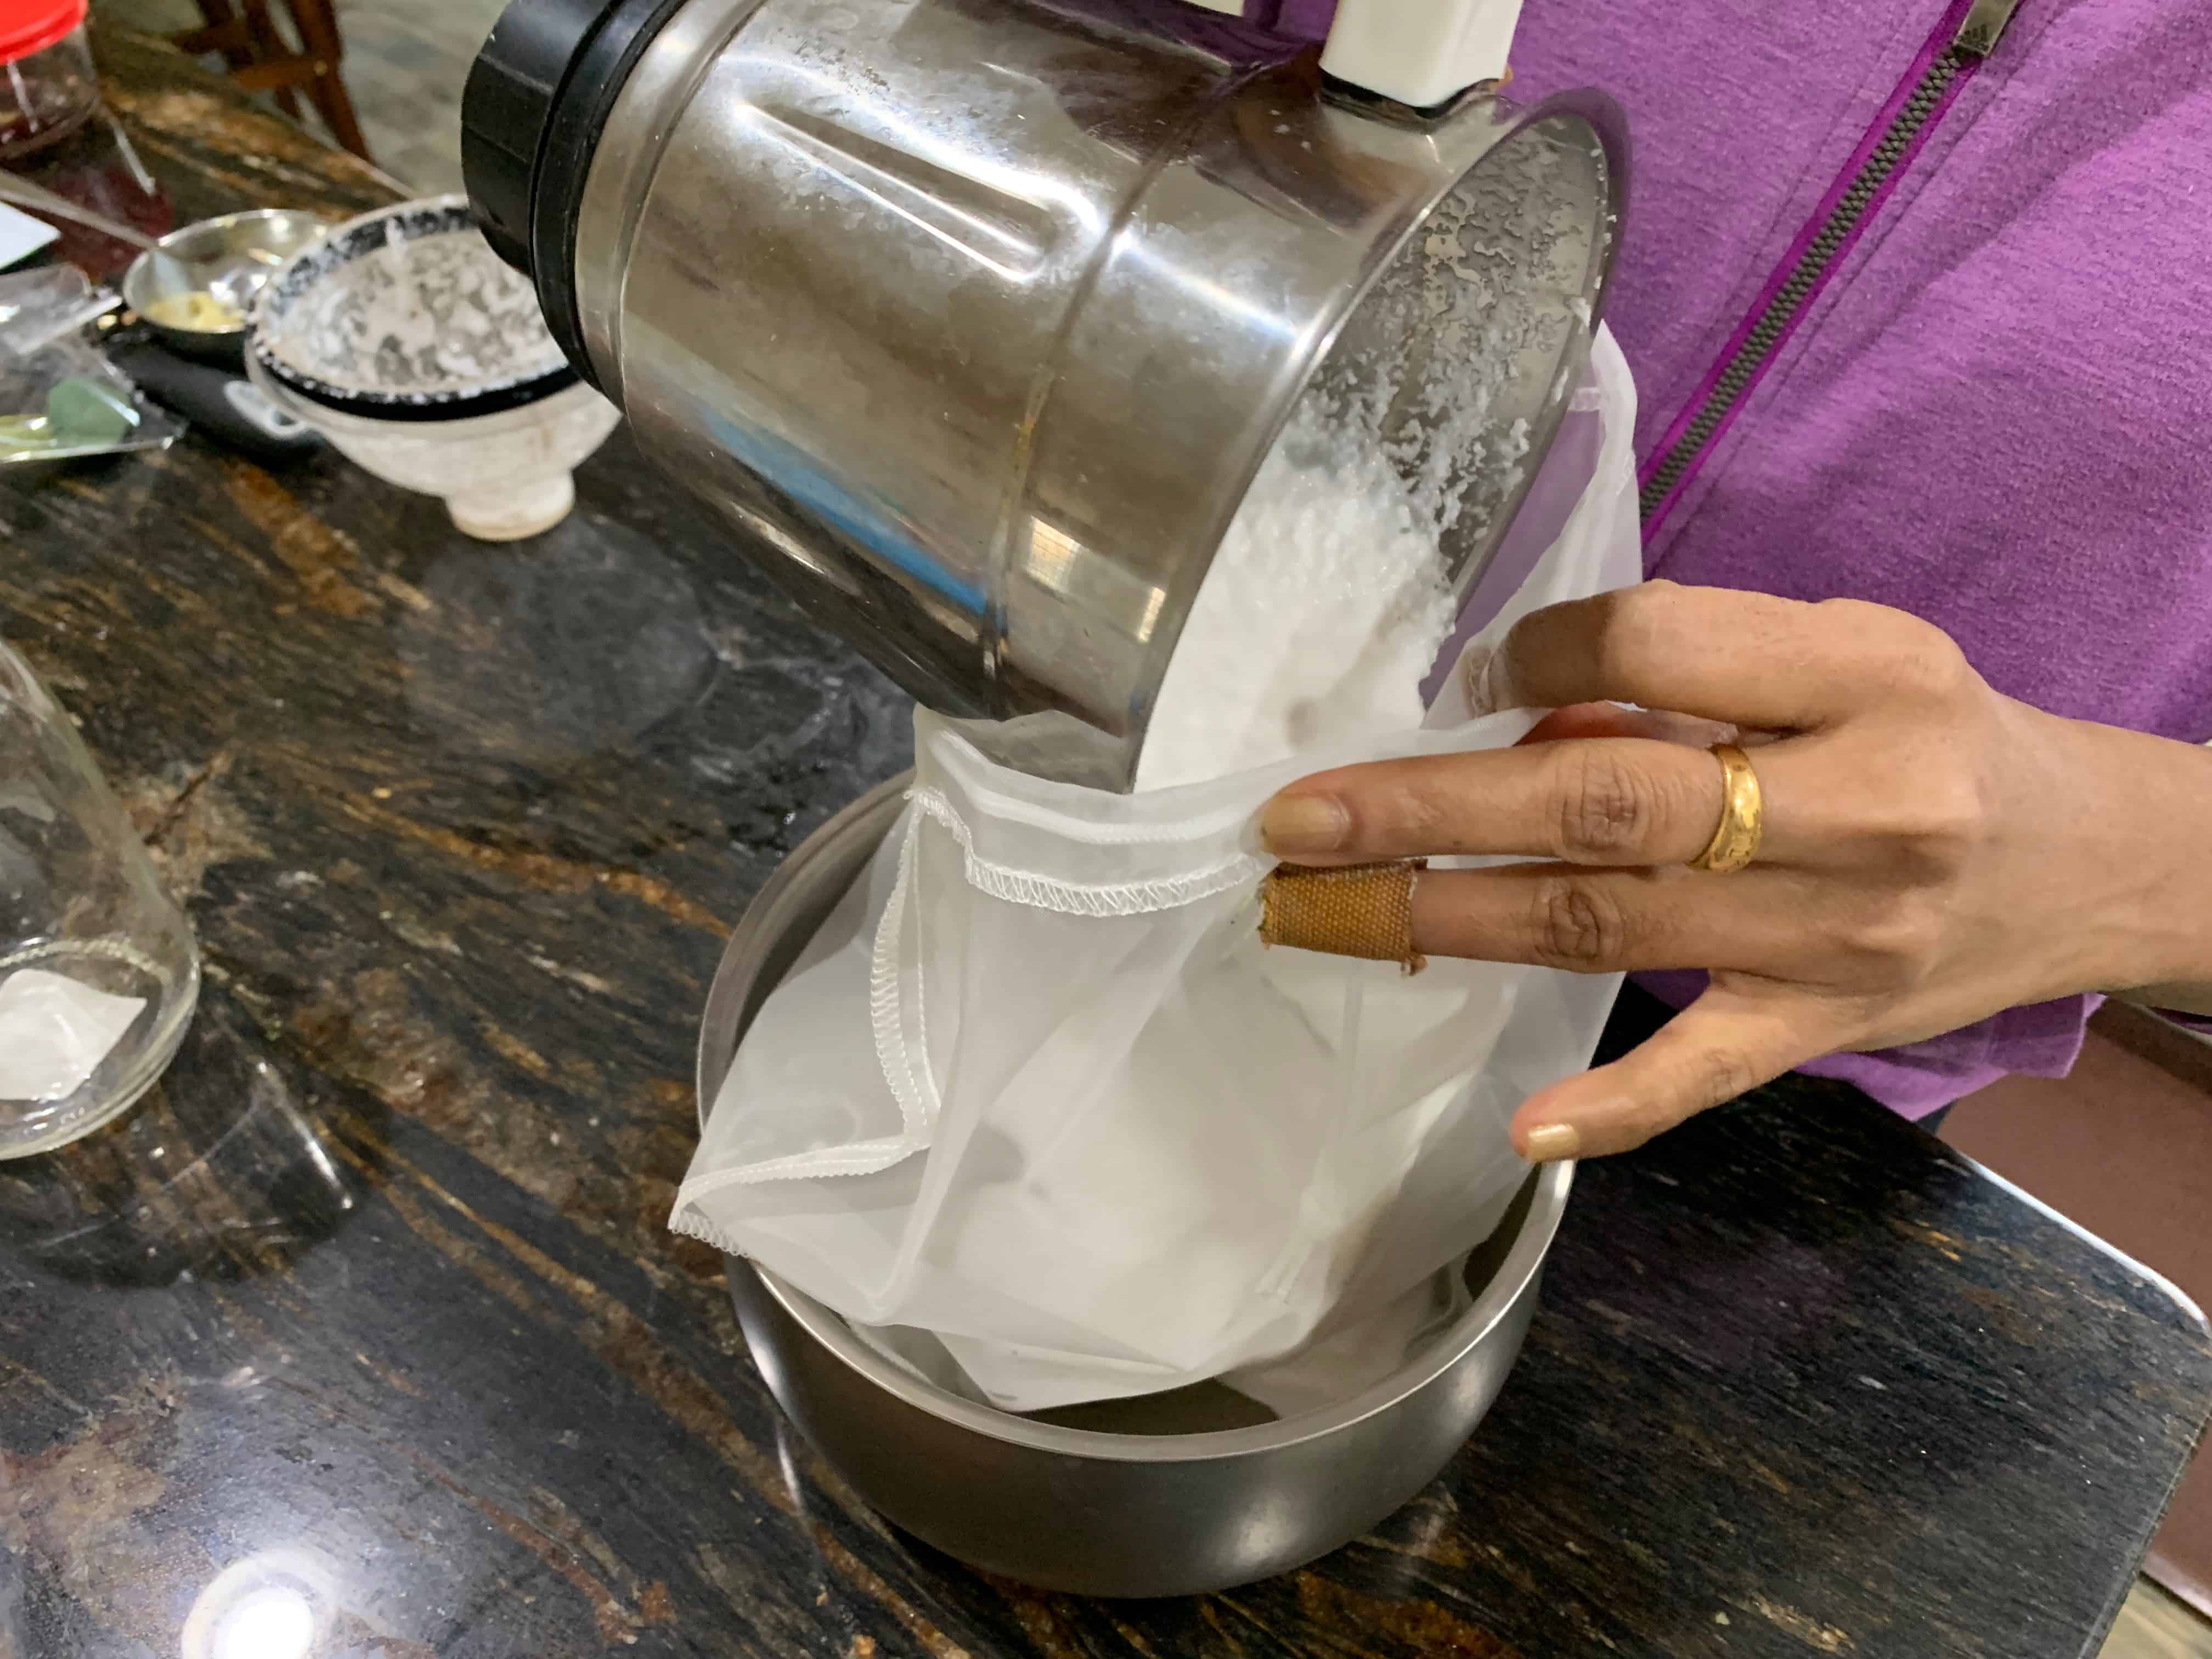 I used to always use a large fine mesh strainer (That I had bought from india) for straining the coconut milk. However, recently I have started using this nut milk bag and I am loving it for two reasons. First reason – It is very large so I can add the entire quantity of coconut milk mixture into it at once. When I use a strainer, I have to do it in two batches since the strainer is small. The second reason I like it is that its texture is very fine and so even the tiniest of coconut meat particles/shreds do not pass thru to the milk. Plus, the bag is fairly easy to clean by hand. The seams of the bag have been thoughtfully placed on the outside so that it is easy to clean! Really neat! So do check this nut milk bag out and if you decide to purchase it, use the coupon code ‘cook2nourish’ for a 10% off of your entire order. (In addition to their nut milk bag, Elli’s Best have a lot of wonderfully healthful and wholesome products that you will definitely love!)
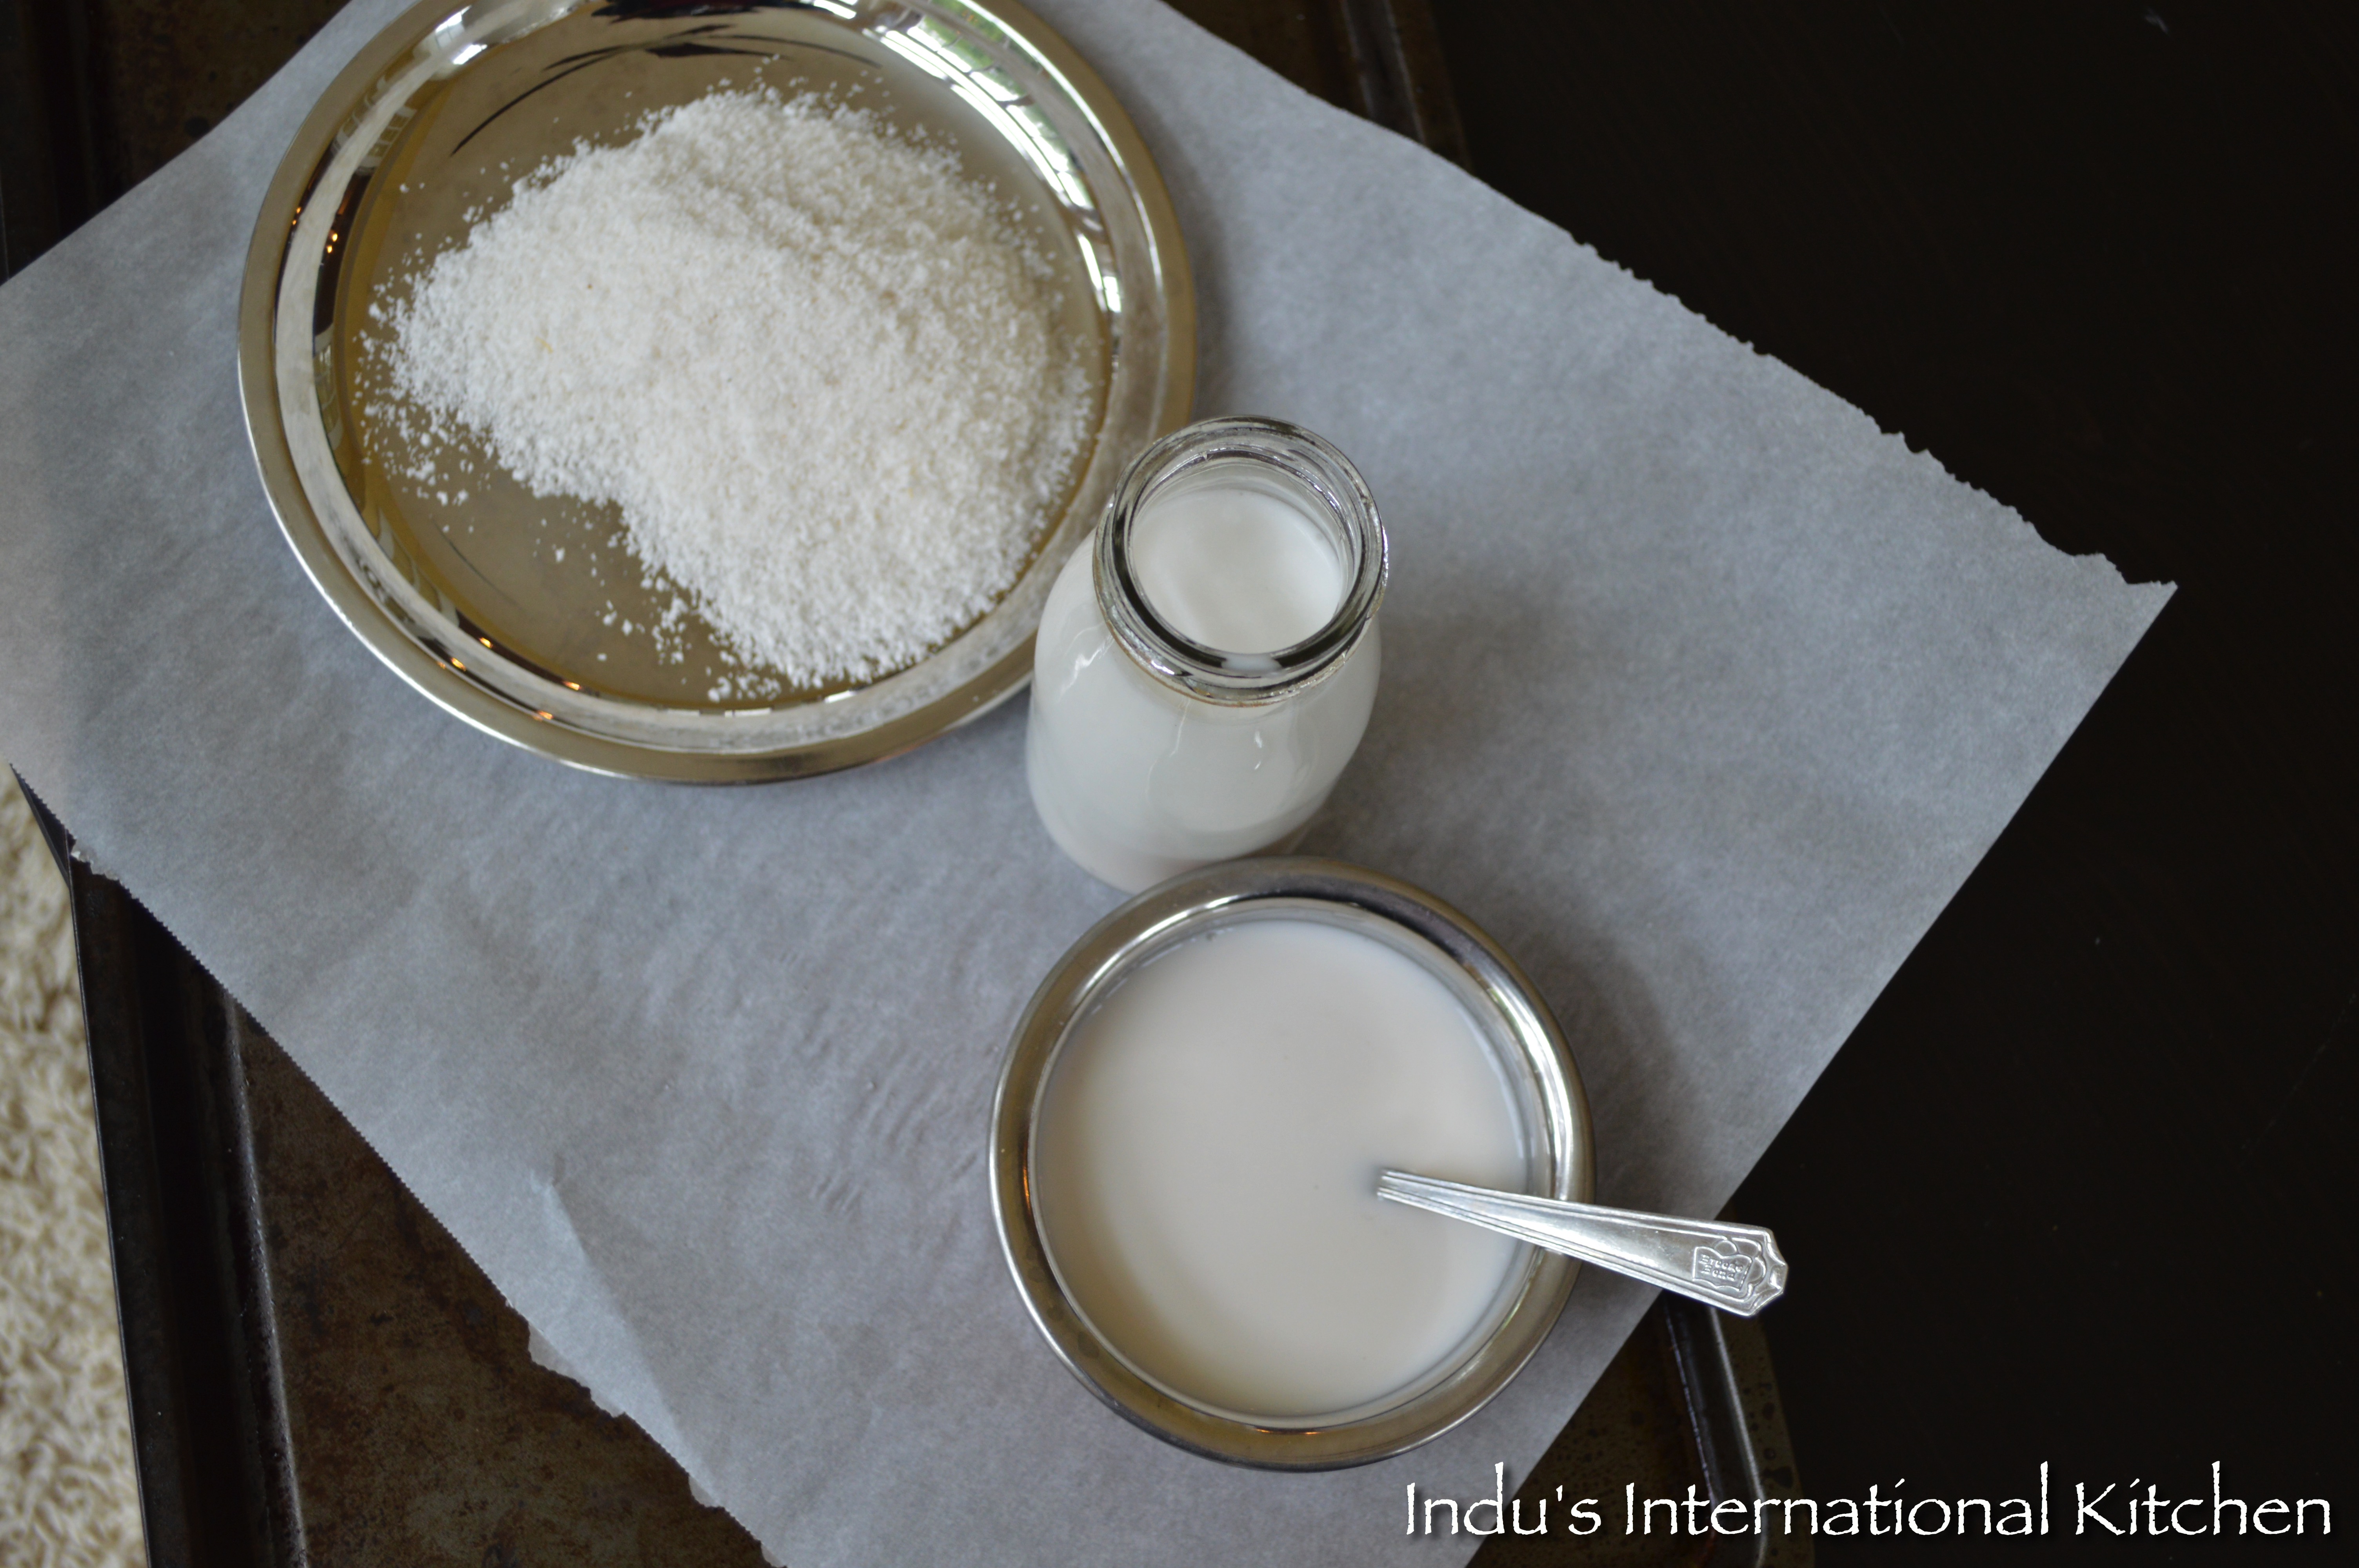
- 2 cups fresh or fresh frozen coconut (grated or sliced) or dried shredded coconut
- 2½ cups warm water (not boiling) in divided portions
- If using frozen coconut, thaw it first at either room temperature or in the microwave for about 30 secs.
- Blend the coconut with half of the the warm water(about 1 and ½ cups) in a food processor or blender.(If using dried shredded coconut, blend for longer time)
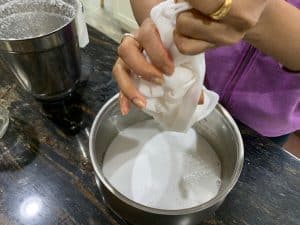
- Place a large fine mesh strainer over a large bowl. Strain the coconut mixture through this to get coconut milk in the bowl. You can use your hands to squeeze the coconut meat.
- Put the squeezed coconut meat back into the blender along with the rest of the warm water (1 cup) and again blend for another 30 secs or so.
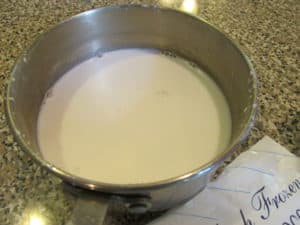
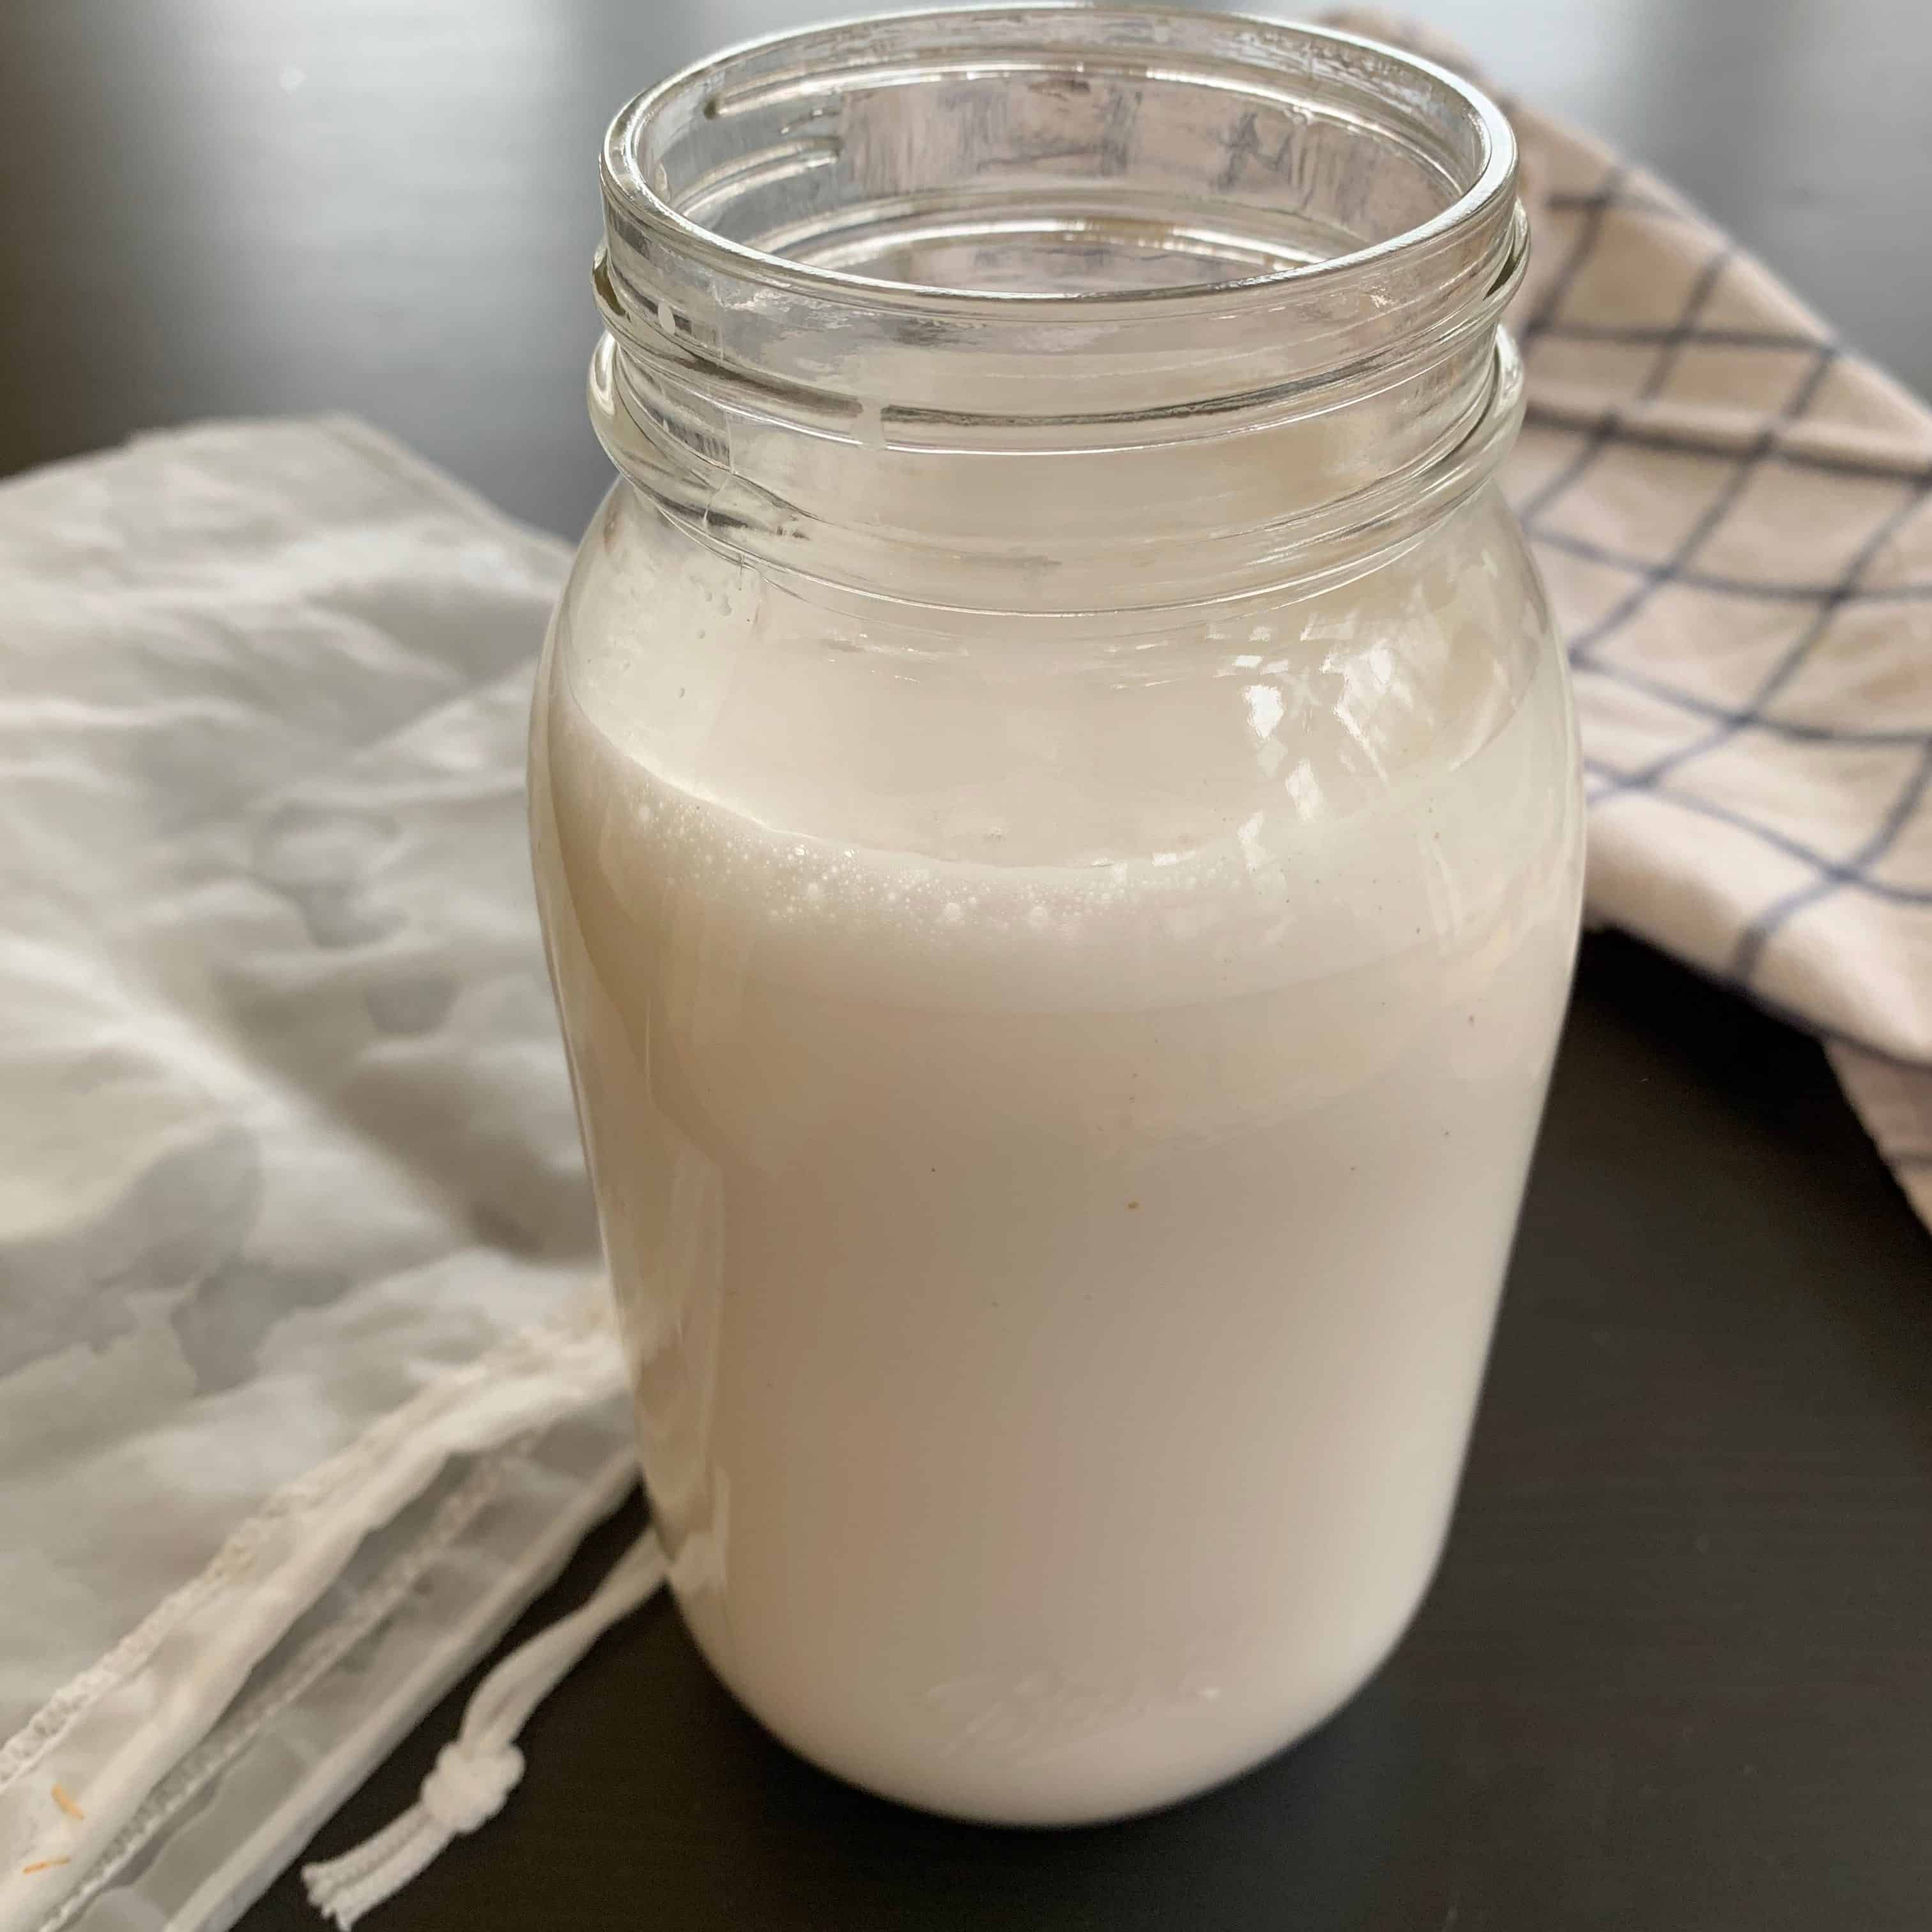
- Once again pass this mixture through strainer. You will get about 3 cups of coconut milk. Pour half of the extracted coconut milk in a bottle or jar and place in fridge. Keep the rest aside.
Step wise pictures:









How to make coconut flour if not using oven, as in India. Can we put the coconut meat n idli pot?
Hi! If you don’t have oven, I suggest drying it in the sun for a couple days. Place on a tray in the sun for a few hours (at least 3 to 4 hours) every day until they get really dry and there is no moisture. Idli pot won’t work since steam will make it more moist. Hope that helps!
Homemade coconut yoghurt sounds good ??
Its delicious Elaine!
Indu, I have a query. For flour, u r using strained coconut meat. Does the meat have any flavour left out after extracting the milk?
Pray, yes the meat still has some flavor left. I started making it this way when I realized that store bought ‘coconut flour’ was also made this way. And store-bought is actually even more bland possibly because they do multiple extractions of the meat. Just with two extractions as I have shown in this recipe, you still get a good flour which you can use in recipes as fillers or in baking. Coconut flour is high in fiber, and in protein. It is very ‘non -allergenic’ and hence very good for people with gluten sensitivity or sensitivity to grains. Hope that helps!
Thank you for these useful recipes. Homemade is always better than what we can buy in a store.
Yes absolutely! And this is not really hard to do …just needs some planning that’s all. I am so glad you like this post, Erika.